Verification used to be something editors and librarians did. Now every reader needs a working version of it, because well-formed, authoritative-sounding text costs almost nothing to produce, and plenty of it is wrong. The good news is that the method is simple and the tools are the ones you already use to highlight. This guide shows how to annotate any article, report or web page so that every claim ends up either traced to evidence or clearly marked as unsupported.
The method
Read the whole piece once without marking
Get the argument first. Marking on the first pass produces highlights on everything that sounds important, which is not the same as everything that needs checking.
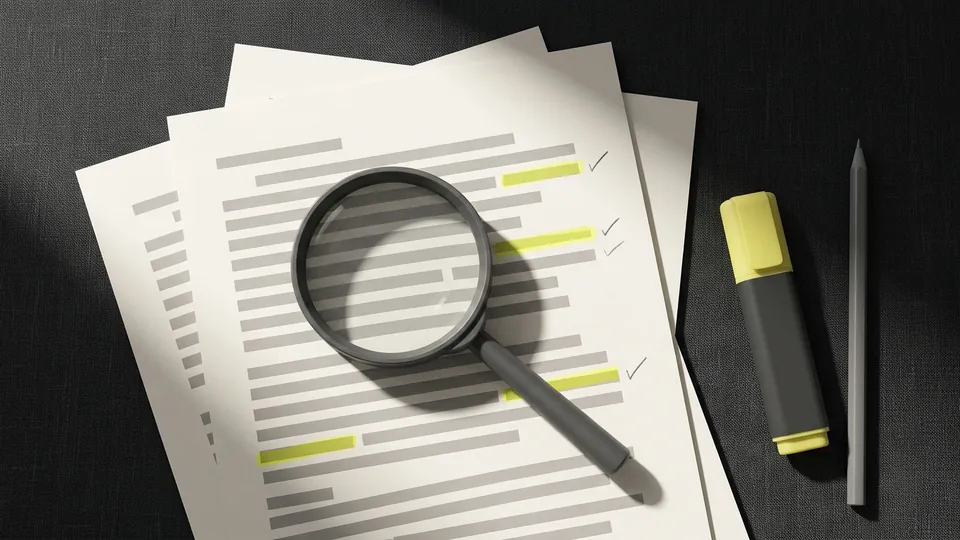
Mark every checkable claim in yellow
A checkable claim is a statement of fact that could be true or false: a number, a date, a quotation, a finding attributed to a study, a statement about what someone said or did. Opinions and predictions are not checkable in this sense; leave them unmarked.
Mark the evidence the text offers in green
Next to each yellow claim, look for what supports it inside the text: a link, a citation, a named source, a figure. If there is none, write a small question mark in the margin or add a note saying "no source given".
Open each source and find the exact passage
Follow every link and citation. Find the sentence in the source that the claim depends on, and check that it says what the text says it says. Make a highlight link to that sentence so you can return to it, and paste it into a note beside the claim.
Read laterally for anything unsupported
For claims with no source, leave the page and search for the claim elsewhere: who else reports it, and where did they get it? This is lateral reading, and it is how professional fact checkers work.
Summarise in one line per claim
At the end, each yellow claim should carry one of three notes: supported (with a link to the evidence), contradicted (with a link), or unverified. The summary is what you keep.
A colour code for verification
| Mark | Meaning | Keep it short |
|---|---|---|
| Yellow | A claim that can be checked | The claim only, not the whole paragraph |
| Green | Evidence the text itself offers | The citation or link, or the figure |
| Note or margin question mark | No evidence offered | One symbol, applied the same way every time |
This is a variant of the general three-colour system in our study colour code, adapted for checking rather than learning. On paper, use two highlighters and a pencil. In a PDF, use the viewer's colours and notes (see highlighting in a PDF). On a web page, the bookmarklet gives you the yellow marks, and a notes file holds the links.
Why a highlight link is the best way to record evidence
A citation tells you where to look; a highlight link takes you there. When you record the evidence for a claim as a link that opens the source scrolled to the exact sentence, anyone reading your notes, including you in six months, can check your judgement in one click. The link stores nothing and needs no account, and if the source is later edited so the sentence changes, the link stops highlighting, which is itself a useful signal that the evidence moved. Our guide to linking to highlighted text covers how to build these links in every browser.
Red flags while annotating
- Citations that lead to a page that exists but does not contain the claimed passage.
- Quotations with no named speaker, date or place, or with a speaker who could not plausibly have said them. Our guide on tracing a quote to its source covers these.
- Precise-looking numbers ("73 percent of students") with no survey, year or sample named.
- Studies described by their conclusion but never by author, year or journal.
- Sources that all trace back to one original, so that five links are really one piece of evidence.
Text produced by AI tools
Everything above applies with extra force to text produced by chat assistants and writing tools, which can produce citations, quotations and statistics that look real and are not. The method does not change, but expect more question marks, and never treat a citation as checked until you have opened it and found the passage. Our walkthrough for annotating a chatbot answer applies the same steps to that case.
This guide sits in our collection of highlighting guides alongside the practical pieces it relies on: the PDF highlighting walkthrough for reports and papers, and marking passages on web pages for everything online.
Common questions
How do you annotate a source to check its claims?
Read it once, then highlight each checkable claim, mark the evidence the text offers for it, open every source to find the exact supporting passage, and search elsewhere for anything unsupported. Finish with a one-line verdict per claim.
What is lateral reading?
Leaving the page you are evaluating to see what other sources say about its claims and its author, rather than judging it only by how it looks. It is the method professional fact checkers use.
What is the best way to save evidence for a claim?
A link that opens the source at the exact supporting sentence, such as a text fragment highlight link, recorded next to the claim in your notes.
Does this work for PDFs and printed articles?
Yes. Use the highlight and note tools in your PDF viewer, or two highlighters and a pencil on paper. The steps are the same.
Sources
- Wineburg, S. and McGrew, S. (2019). Lateral Reading and the Nature of Expertise: Reading Less and Learning More When Evaluating Digital Information. Teachers College Record, 121(11).
- Caulfield, M. (2019). SIFT (The Four Moves). Hapgood.
- WICG URL Fragment Text Directives specification